Whether you want to become involved in interior photography as a source of income (and there’s a big market for that – real estate agencies and various publications are always in need for good interior photos), or you just want to improve your skills in order to evoke the atmosphere that you’re experiencing in some great indoor environment on the vacation, there are several things to know about interior architecture photography. Even though it looks easy – someone could think that the design of the space itself is the main or even the only element which is important and that the photography is there just to reproduce the look of the interior, this type of photography has many catches and hidden problems. Here are some guidelines to help you get past these obstacles and capture great shots.
Indoor Photography Lighting: Make Most Out of the Natural Light
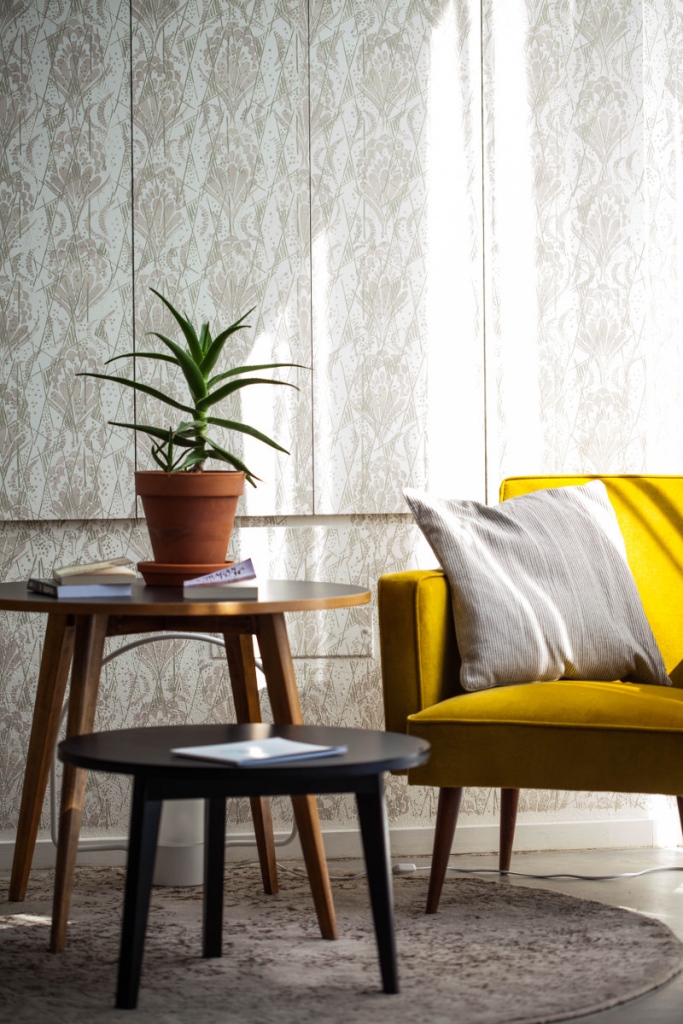
As in any type of photography, lighting is a key to a good image. And in this case, best indoor photography lighting is surely natural light. There are many reasons that support this – natural light makes colors appear fresh and clean, shadows come from more natural and expected directions, and the space in general looks more relaxing and harmonious (and this is important when you photograph spaces meant for a living). It’s also good if you could plan your shooting in advance because you could see where the light will fall depending on the part of the day. Get familiar with the place you’re shooting, locate the position of the windows (whether they’re looking east or west), be patient and wait for that golden hour when the light is beautiful and shadows become interesting.
But because you’re not in control of the natural light, this can lead to a number of problems. For instance, you have an appointed shooting for a client on a specific day. But, alas, the weather that day turned against you – there is no sun, clouds are too heavy, or maybe the client was late and now the golden hour is gone. In such case, when photos have to be done on that day, you have two options – either you shoot with a slow, slow shutter speed with a tripod and enhance the image in post-production, or you bring all the studio lighting equipment you have and make the scene for yourself. This is actually not a rare case in professional interior photography – some photographers always bring strobes, soft boxes and other lights because they want to be in total control of lighting, just in case if there is some part of the interior where natural light can’t reach.
Prepare the Scene before the Shooting
Sometimes you might walk into a great interior, but when you photograph it, it doesn’t look good. The reason behind this problem is that everything is visible and everything catches our eye when it is transposed to a photograph. This includes wrinkled linens, pillows and blankets, unnecessary cups and too many stuff on the table. In general – all the things that clutter a shot. Everything must be placed very intentionally or the flaws of the room become more obvious because our brain becomes a bit OCD when it comes to looking at the final shot. In order to overcome this, be sure to organize the space before the shoot, take some time to set the scene and get rid of all the things that might look a bit in disarray. This might take just a few minutes to do, and the improvement it brings is really great. By doing this, the viewer’s eye stays on the subject you want to show and doesn’t wander or get distracted by features that aren’t really adding anything to the final photo.
Another good thing you could do while preparing the interior is to add some of the elements that look good in the photo. For instance, if you photograph a kitchen interior, stop by to your local market and pick up some fresh, colorful fruits and vegetables. These elements can fill the space nicely and contribute to the final look of the image.
Don’t forget the most important piece of advice – be creative, experiment, have fun, and be sure to check all the possibilities that SlickPic offers. SlickPic is a great tool to notice how your photography skills evolve through time – upload all the photos of your interior photography endeavors, follow our guidelines, and you’ll see the improvements in your skills.


