
Every shooter has his or her unique photography workflow. I figured mine out early on and it has been evolving. I want to share it and perhaps influence others to develop a similar workflow or even a better one than mine. While the title says it is for portraits, it can be a viable for almost any genre of photography. I just shoot a lot more portraits than any other type hence the title.
My digital workflow is based on me shooting RAW files from Nikon camera. I find shooting RAW much more versatile as I don’t have to worry about white balance and picture control. I also happen to like that I can do a lot more editing with RAW files. So here is my workflow after I am done shooting.

I always import RAW files directly to Lightroom…
Importing and RAW File Converter
Most photographers of my generation used the Camera Raw plug-in for Adobe Photoshop to process RAW files. Others would use the Adobe Bridge as the photo software to make batch processing easier. I used do these but switched to Adobe Lightroom as it made dealing with RAW files much easier.
I import most of my files by date to Lightroom straight from my SD Card. I do an initial culling of photos before importing to save space. The beauty of having Lightroom is that it is a photo organizing software as well as a RAW converter. I store imported images in either my PC hard drive or one of the external HDD I carry around.
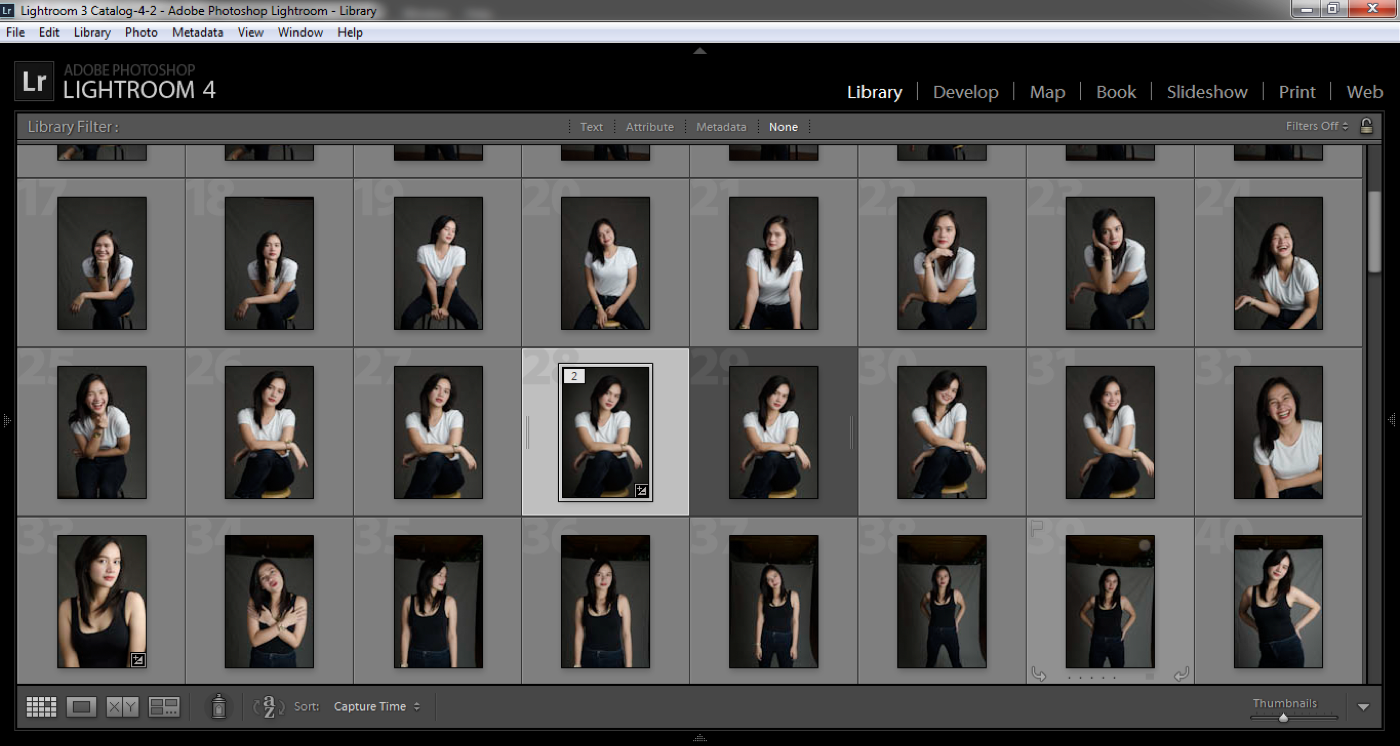
Picking and choosing is easier with the Lightroom catalogue…
Picking and choosing
I use the Smart Preview function in Lightroom to see which photos are worth editing. I also do initial edits like color correction, white balance adjustments and changing the picture control settings. I also do my initial color grading using Lightroom as I find it easy to copy edits from one photo and apply it to a whole batch.
Once I see the files I like, I use the quick selection function to mark them for editing.

I do complicated edits with Photoshop which you can open from Lightroom…
Editing Photos
Adobe Lightroom can edit photos the scope can be a bit limited. When editing photos especially portraits, I would go with Adobe Photoshop. Image editing would involve removing blemishes, cleaning the background and other manipulation techniques like liquefy or frequency separation. I will write about image editing in other posts. I also do cropping to some photos in Photoshop.
When editing an image from Lightroom to Photoshop, LR would always create a new file with the PSD extension. This way you can have multiple edited versions of the same photo. When I am finished saving the PSD, Lightroom will also update the photo in its catalogue.

I go back to Lightroom after the edits I make in Photoshop for final proofing…
Final Edits
Once I am done doing the heavy lifting using Photoshop, it is back to Lightroom for the final edits. I do my final touches using Lightroom by running presets for color grading and other effects. I also do my final cropping here so I can preserve the cropped areas if I change my mind.
After cropping I do image sharpening. Lightroom presets take care of that for me.

Once I am ready, I hit the export button to create the final JPEGs…
Exporting Final Images
I also export my final JPEG images through Lightroom. I find the export function easy and well executed. I can export everything in one go. I can also attach watermarks to all my images via the export function which saves me a lot of time.
Once I am done with the export, I will upload it to my cloud storage and my best photos to photo sharing sites like SlickPic.
The workflow I have is simple and it preserves the RAW files for future edits. If you noticed that nowhere in my workflow did I ever convert the RAW files to JPEG. There are times that everything happens in Lightroom but Photoshop is always there for the more complicated tasks. This digital workflow is also what I use when I shoot weddings and events.
I hope you learned something from my workflow. If you have something to share about your workflow, please leave a comment below!


