Shooting outdoor portraits is something that should be in every photographer’s repertoire. Doing outdoor photo shoots is one of the easiest ways you can master photography. It can also be the starting point for a photography career.
I started out shooting portraits around seven years ago by accident. Ever since the first time, I grew to love portrait photography made a career out of it. I will share a few tips to make shooting outdoor portraits simple and enjoyable.

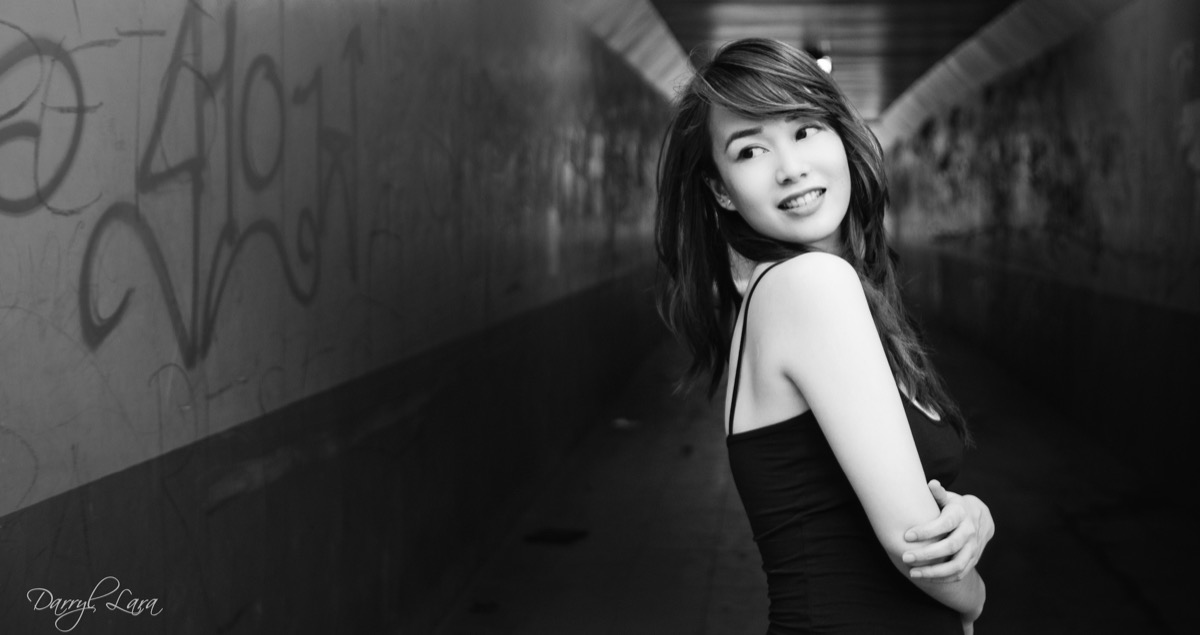
I always choose secluded parks or public areas for my portraits…
Choose a Good Location
Outdoor portraits should always start with a good location. It would make it easier for you to shoot good portraits if you do not have to worry about the background. Choose a location that is not busy and with little pedestrian traffic. The location should also be free of clutter and distractions.
A good example of a good and simple location would be a secluded area of a park or beach. Another example would be the rooftop of a building. For me, I usually shoot in a park or a pedestrian walkway that does not have many people passing by.
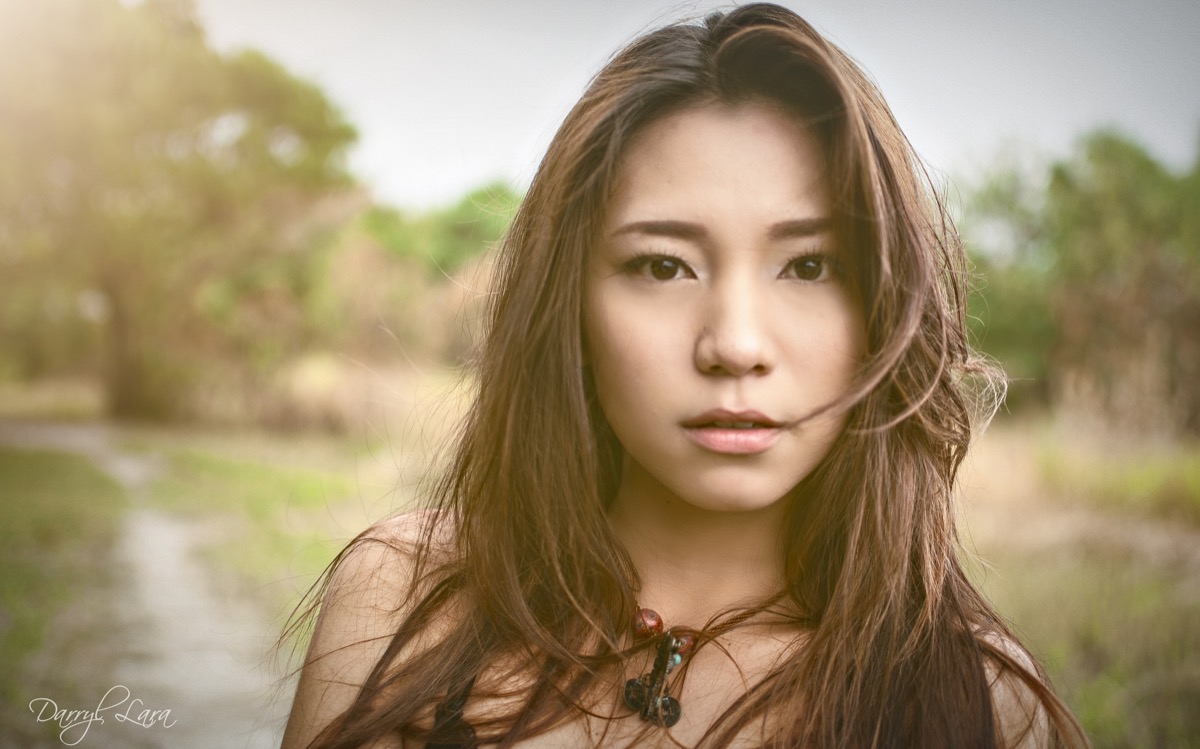
Flat even natural lighting is just beautiful when done right…
Portrait Lighting
Ambient lighting is the most natural lighting to use for photoshoots. It would be a good idea to time your outdoor photo shoot to take advantage of the golden hour in the morning or afternoon. The golden hours would be one hour after sunrise or one hour before sunset.
Good sunlight during the golden hour and when there are overcast clouds provide you with soft and even lighting. Taking advantage of the pleasant natural lighting would improve the overall quality of your photos. It is something that is very hard to replicate with a basic flash kit.
If you do find yourself in the harsh midday sun, find a shaded spot where you can shoot.

I choose lenses where I have enough room to frame my subject…
Portrait Lenses
Most photographers would shoot portraits with a telephoto lens for best results. For outdoor portraits, I tend to choose prime lenses in the 35mm to 50mm range. These lenses have little distortion and a lot of room for framing. I can add a bit of background to my portraits which can make your portraits a little more interesting. The additional layer will help you emphasize the subject without consuming the entire photograph.
I only choose telephoto portrait lenses beyond 70mm when I intend to do close up shots.
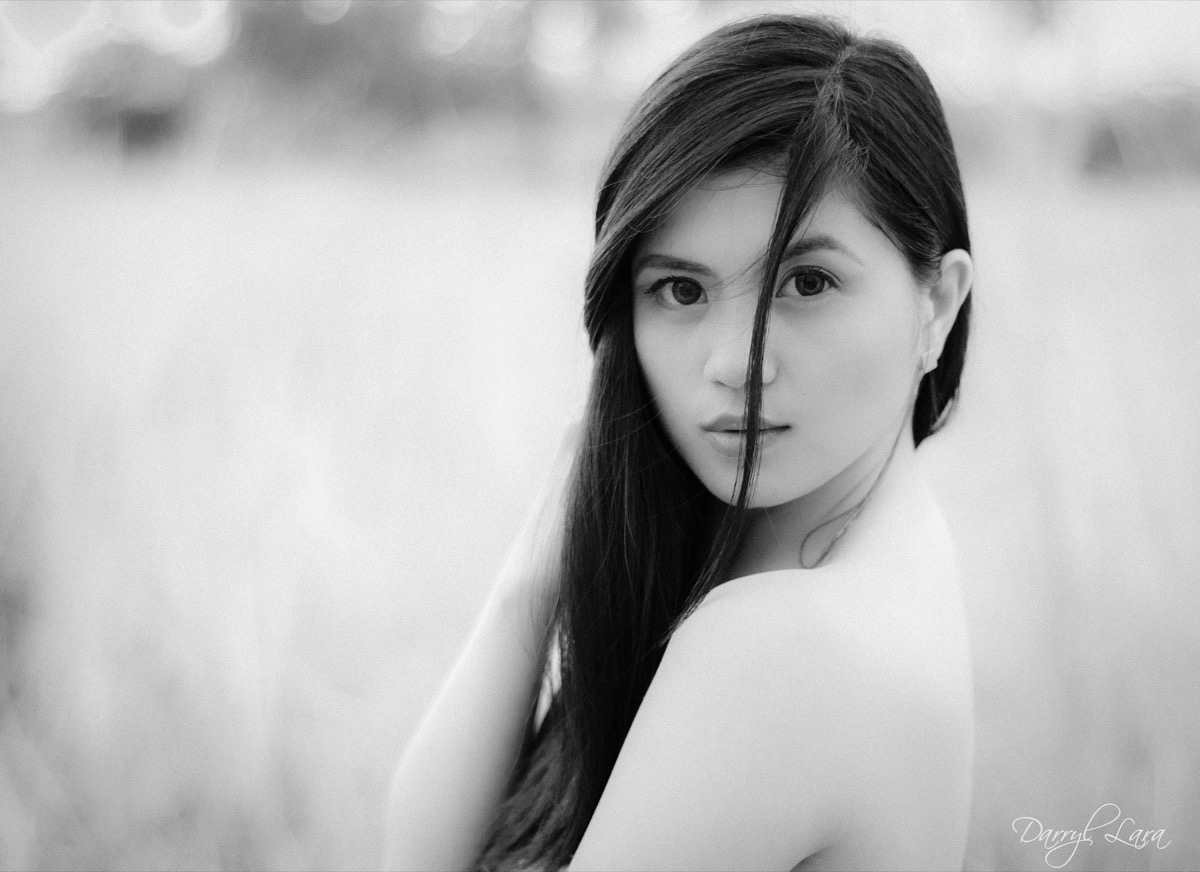
Shallow depth of field blurs out enough for the background…
Shallow Depth of Field
When shooting portraits, especially when I have a busy foreground or background, I always go for shallow depth of field. The narrow area of the photo that is in focus helps me separate the model from the background. The resulting “bokeh” can also be an additional visual treat for your portraits.
I shoot at around f1.8 to f4 on most portraits to keep the subject in focus while keeping much of the background blurry. This makes the subject “pop out” and be clearly seen in the photo.

Proper focusing will help enhance your images…
Focus on the eyes
A general rule that I share to new photographers is to always place focus on the eyes. The eyes, as they say, is the window to the soul. The eyes make the most interesting focus point of a portrait; if you are shooting a semi close up portrait.
Set your camera to use a single focus point. Select the focus point nearest to the eye after framing. This will ensure the focus will be on the eyes which also happen to be an easy spot for the camera to focus on.
Spot Metering
I always use spot metering on outdoor portrait photo shoots. The way spot metering works is that it checks the exposure on the focus point you select. Meter on the brightest part of the subject and lock the exposure there and refocus on the eyes. This technique will help you get both the exposure and focus right on your portraits.

Position the model so that the sun is not directly in front or behind to create some mood lighting…
Final tips
As a final tip, keep the mood in your photo shoot light and happy. Compliment your model and take it easy on the directing. The rapport your have with your model will determine how well they will take direction and how relaxed they are. So always engage them in a conversation and have fun while doing the photo session.
Learn More:


