
Use manual exposure and never look back
When new to photography, the automatic function is the easiest option, especially when terms such as aperture, shutter speed and ISO seem like another language. However, at some point you will struggle to get your camera to do what you want to achieve and it might be time to move on – to other dials that is, not a new camera. You would be surprised at the difference when you take control.
When I first started I kept on sneaking my camera back to auto, but as time went by, I became much better at getting manual exposure right. Start with the programming modes such as aperture or shutter priority, but remember that you won’t ever have full control there.
So why do we rather use manual exposure modes?
Exposure control
When using the auto function, your camera chooses exposure depending on the circumstances, but the camera can’t always get it right. You are most likely to run into problems when shooting with bright backgrounds. Want to shoot silhouettes at sunset? You can only get that right by overexposing your subject.
Shortcut: Use flash to light your subject if needed, or exposure compensation.
Focus using manual exposure modes
Have you ever had pictures where the focus just wasn’t right? If you find that objects are blurry that were meant to be in focus, it is time to move on to the manual exposure. Here you have the control to decide where the focus point should be.
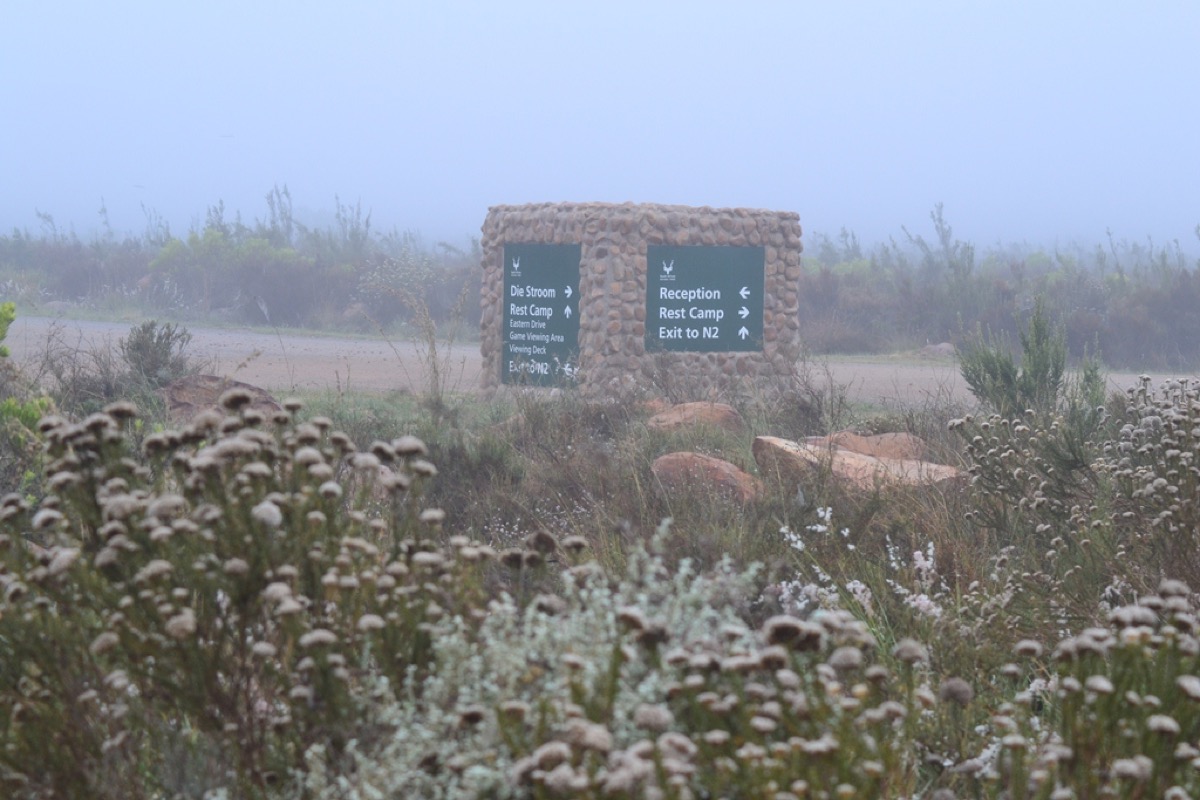
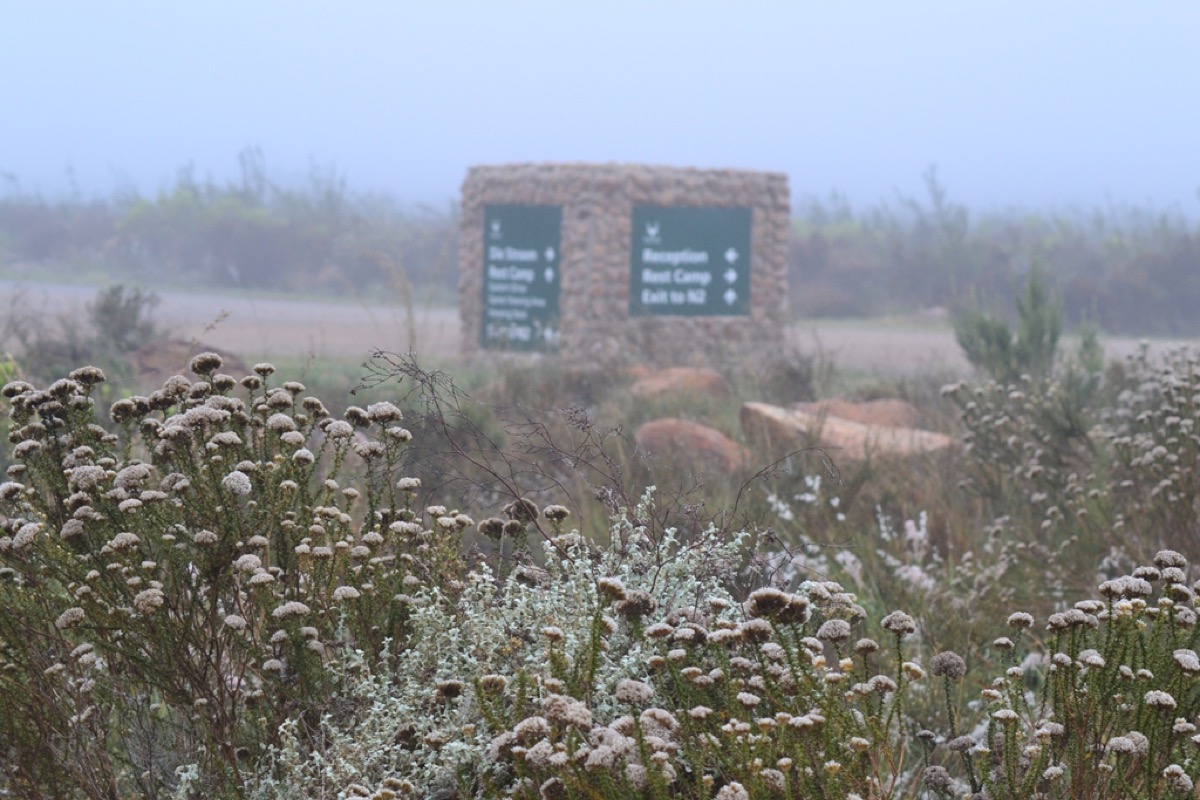
Notice the different focus points in the photos? This is difficult to achieve with the automatic function. I manually changed the focus spot for the two photos.
Tone problems
With the automatic function, your camera judges the light type, but it is difficult to get it right all the time. Once you take control, you gain the ability to set the white balance manually, depending on the lighting in the area. Choose between tungsten, florescent, sunshine and cloudy to name a few. Play around with them and get interesting results.
Shortcut: Post processing software can fix your wrong choices.
Low light conditions
Does your popup flash always activate in low light, giving your subjects a harsh appearance? This is a fundamental issue when you shoot in automatic. As soon as you choose manual camera settings, you can simply open the aperture, up your ISO and choose a slower shutter. You might need a tripod, but at least you will use the natural light.
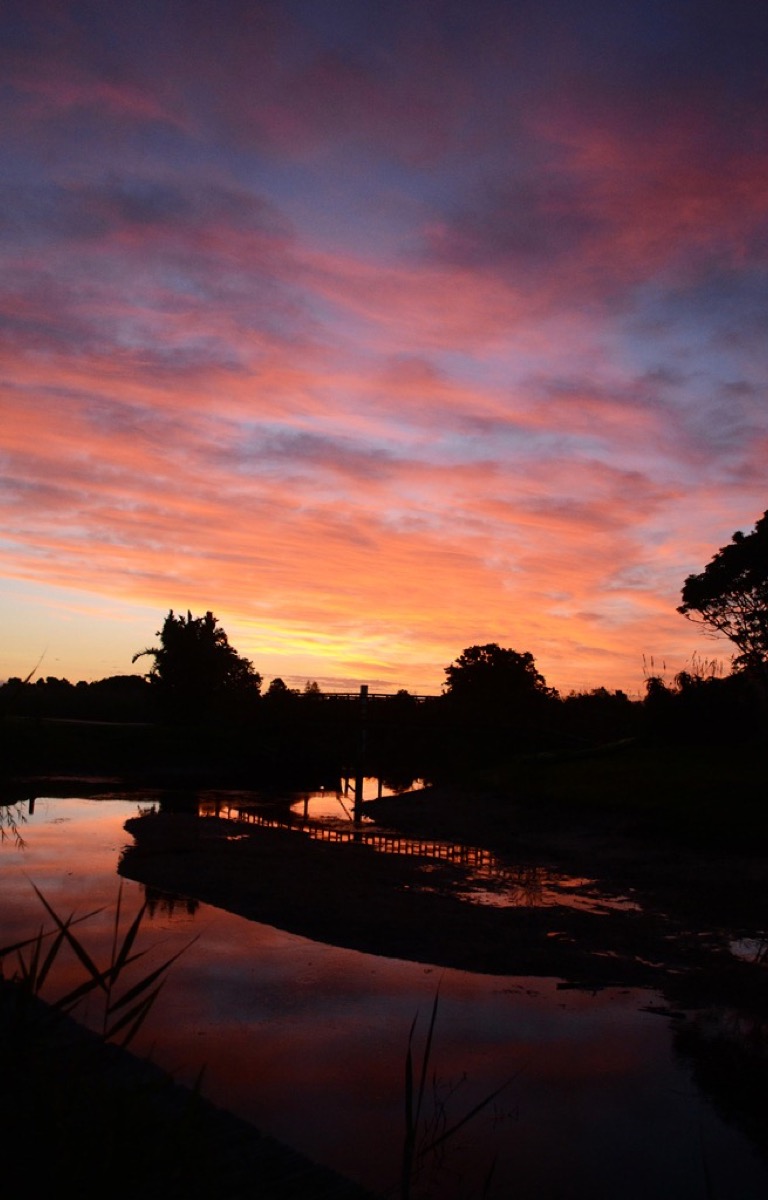
At times you might want to underexpose images to create contrast. If I did not use manual camera settings, I would not have been able to achieve this.
Need a blurry background?
We are not talking about total blurry images, which can happen when using automatic setting because the camera compensates for low light conditions. The right kind of blur is when they are in backgrounds. Simply use a larger aperture (smaller f-number) to create blurry backgrounds in images. If you want everything in focus, use a small aperture.
Shortcut: Aperture priority mode will allow you to choose your aperture, but the camera will take care of the rest if you are uncertain. This mode is also useful when weather conditions are changing constantly
Ability to freeze motion
Want to create blur on purpose? Setting a slower shutter speed to freeze motion, like when shooting that waterfall, will help with that.
Shortcut: Use shutter priority mode. This way you control the your speed, but your camera still makes the other decisions.
Full manual exposure is not the only way to go, but automatic mode is something that should not often be used. If you are not comfortable with full manual settings, revert to aperture and shutter priority. The key is to be comfortable in all of them and choose the best one for the situation.
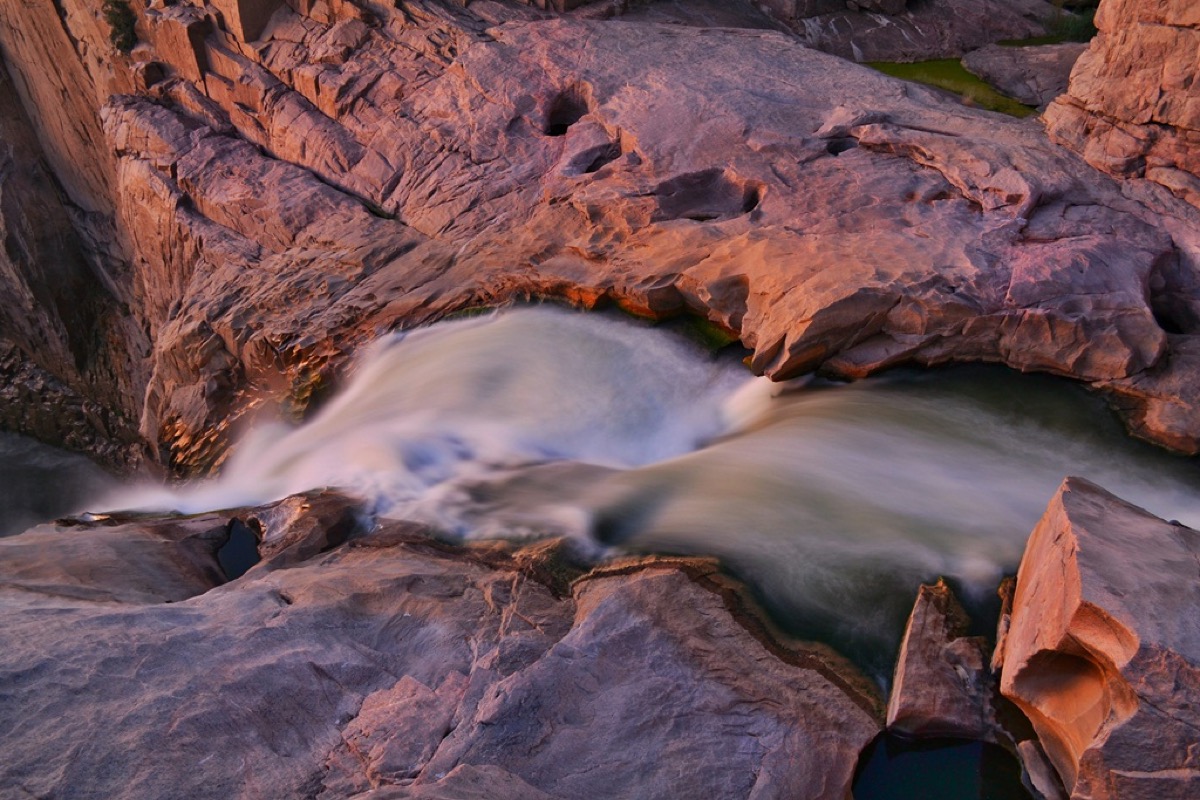
With the ability to control the shutter speed you can use a deliberate slow speed to freeze motion.


