
Whether you visit a nature reserve, spend a day exploring the city or relax in your own garden, chances are that you will have many opportunities to take bird pictures. Birding photography is one of the quickest growing genres of nature and wildlife photography, and it is not difficult to understand why so many people absolutely love taking bird photos.
However, getting spectacular bird images as you start out with photography can be difficult, especially when you are still getting to know your camera. We look at some basics photography tips on how to photograph them effortlessly.
1. Get to know your equipment
The most important photography tip for great bird pictures is to familiarise yourself with your gear. You don’t need the expensive equipment for great results. Use a zoom lens and practise until you get it right. A standard 55-200mm, 70-300mm or something similar is good to start with.

A shallow depth of field will ensure a nice blurry background that will draw attention to your subject.
2. Settings for perfect bird photos
The ‘auto’ setting is convenient, but simply pointing the camera and expecting a perfect bird photo might not be the best. The camera makes all the decisions, but your own creative decisions will lead to much better results.
For birding photography, try aperture priority, marked with an ‘A’ on Nikon cameras. This setting allows you to control the aperture (f-stop) while the camera controls the shutter speed. For bird images, you need a shallow depth of field and a fast shutter speed.
Birds in flight require more practise. You need a fast shutter speed to make sure the wings are not blurry. Generally, in bright conditions, a speed of at least 1/800 of a second should suffice. Play around with your ISO settings for the best results. ISO 100 or 200 is good but a lot can influence this.
For fast focus, set the focus mode to autofocus continuous servo (AF-C). This will help track the movement while continuously focussing. You can also select Dynamic AF Area which helps with focus tracking. Use burst mode to shoot multiple frames of your bird.
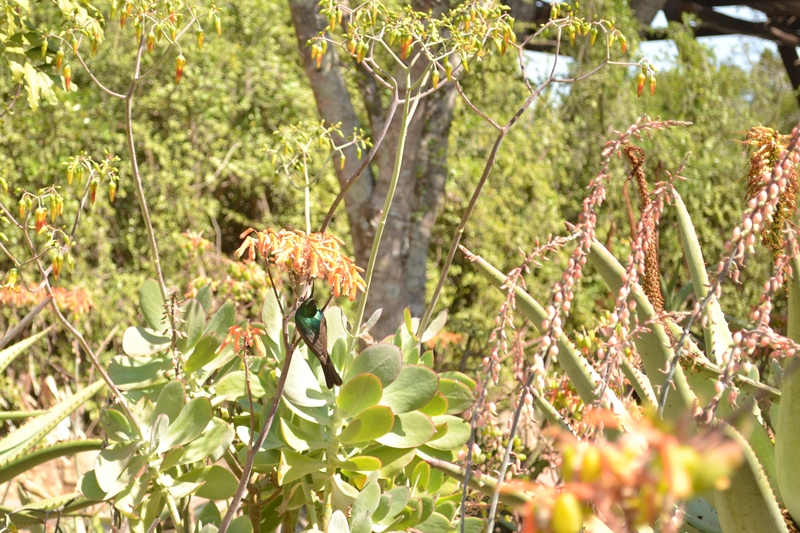
How not to do it. Here a cluttered background ruins the photo. It also shows why longer lenses work better. You just won’t get the same results with a kit lens when you are far from the bird.
3. Compose the perfect image
The closer you can get, the better your bird pictures. Create a blurry background by using a small f-stop and make sure the photo is not cluttered. Remember to get the bird’s eyes in focus and use natural light to your advantage. Use the rule of thirds and if the subject is chicks, try to go down to their level.

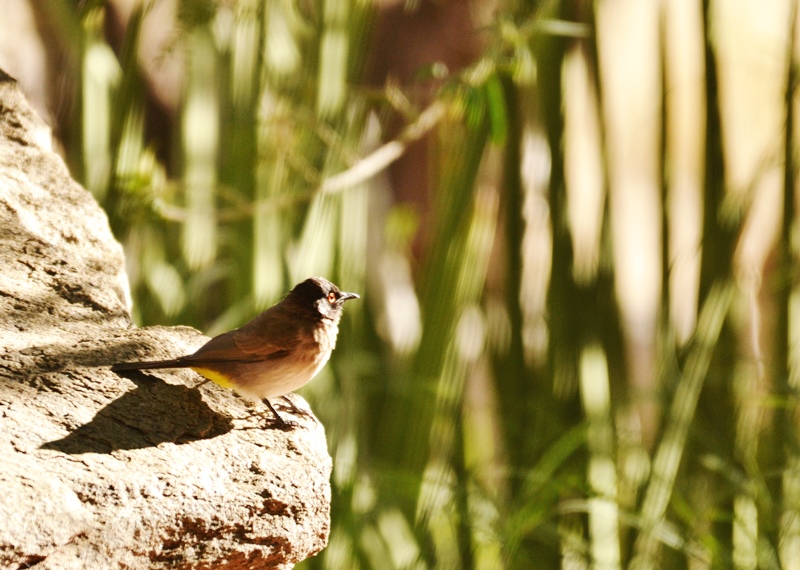
If your shutter is too slow, you will get blurry bird pictures, especially when it comes to birds in flight. This photo was taken at 1/500 sec ISO 200 when the light was not as bright. A faster speed would have meant perfect results.
4. Read up on your subjects
The more you know about birds, the easier it becomes to take bird pictures. Some birds run before taking flight while others jump around erratically. The more you read up about them, the easier it will be to anticipating their moves.
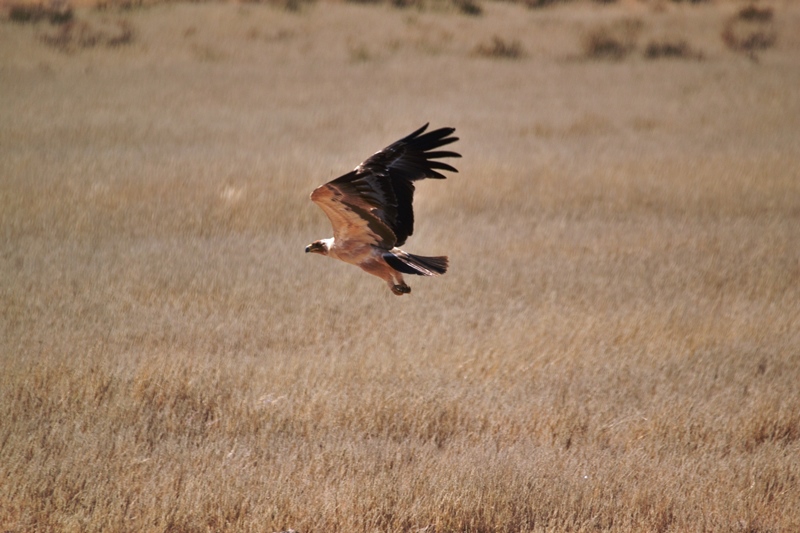
Fast speed settings can do wonders when birds are flying. This bird was photographed at 1/1600 sec at ISO 200 with a Sigma 120-400mm lens.
5. Practise makes perfect
Continue playing around with your camera, even when you don’t get it right. Practise on your lovebirds at home, photograph birds in the garden and go on bird watching excursions. Always have fun and in next to no time, you will take great pictures of beautiful birds.

Bird images look so much better the closer you are.


Lighting is crucial. See the difference in the two images bird pictures.
Position the bird so it is somewhere in a third of the frame. You can draw imaginary vertical lines to ensure your placement is right.


