Nowadays, on the era of e-commerce, you can enter stores from all over the world and buy any kind of product with just one click (ok, not just ONE click, but you know what I mean). But with so many choices what makes us set for that one seller?
I know that words are good for convincing, but images… images sell not only items, but ideas, news, articles, blogs and magazines and so much more!
Sellers always need great looking photos to showcase what they have to offer, but like them, there are so many photographers! What makes you the best choice to captures outstanding visuals?
I learned how to stand out using homemade items and now I’m going to show you a few product photography tips:


First two photos are the process of capturing my phone screen with a pink background, the third image is the final result of blending several images
Lights!
Having studio lights might sound amazing, but not always possible. If you are on a budget or on your own to keep carrying them around you might give up the idea of a professional light kit. Although lighting is essential and you will not be able to capture high definition studio images without it, if you have a phone and a nightstand lamp you have half of a mini studio. When I have to improvise I use my cellphone light and other lamp to illuminate my object. Nowadays there are so many led options that don’t cost much, don’t spend much and even allows you to add some visual effects to your photo. Light strings, led bulbs and even Christmas lights are an option.
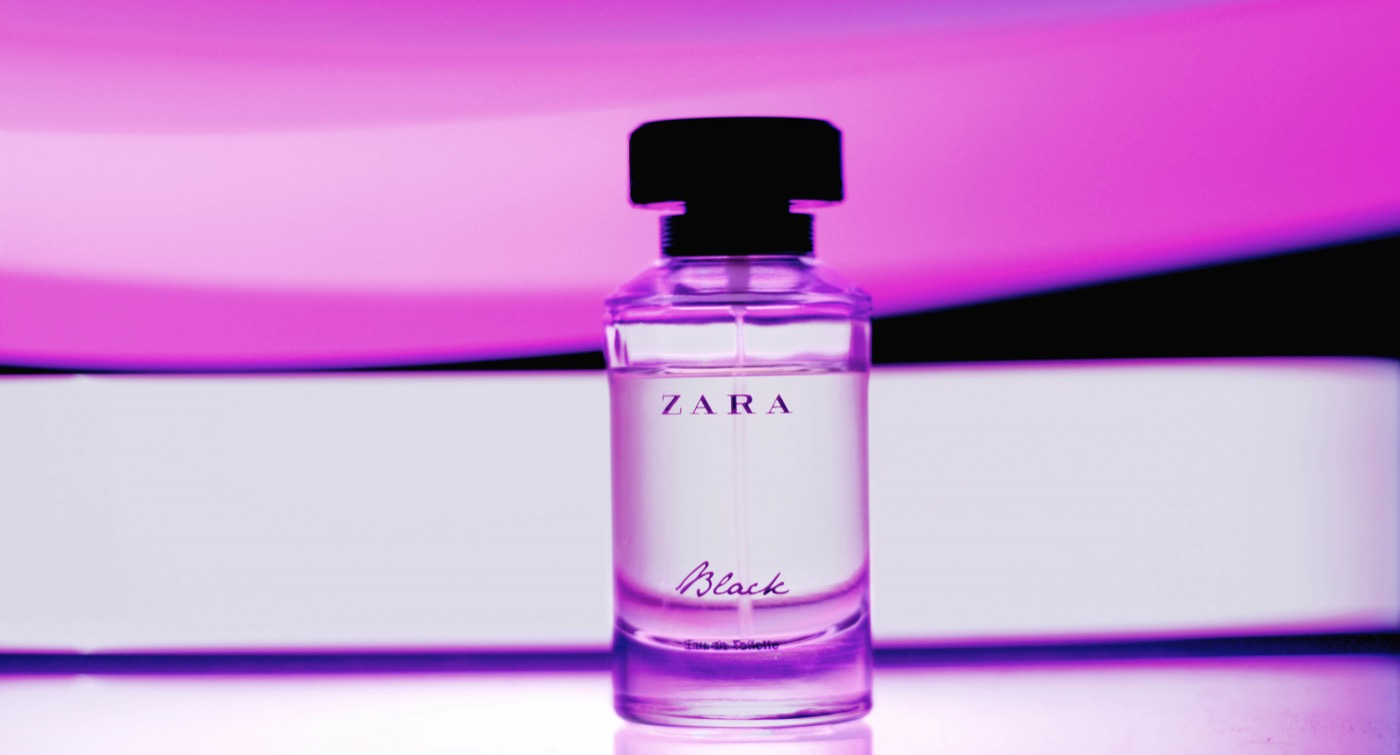
I also use colors on my phone screen to capture light effects to add to my scene (see example down bellow).
Backdrop
While shooting objects we will need mini studios, they are easy to make and easy to control (light-wise), they are also portable, so if someone hires you to shoot on their store you can always take your workplace everywhere. You will definitely need a white and black one (you might have light and darks colors to shoot so you need to make a contrast so the object isn’t lost). Black and white are super easy to achieve, I use greaseproof paper from the kitchen for the white one (I also use a back light as it is a bit transparent) and a simple black cardboard that you can buy on any stationery store. For the setup I either use a cardboard structure or tape it to a wall and floor. As they are little you won’t need much space.
Sometime you’ll want delicate and colorful backdrops, I usually like to customize mine so here’s one I did using old sponges and card paper.


First photo is the grease paper I use for white background, photo 2 is the making of my own black backdrop and photo 3 is the final result using my homemade backdrop
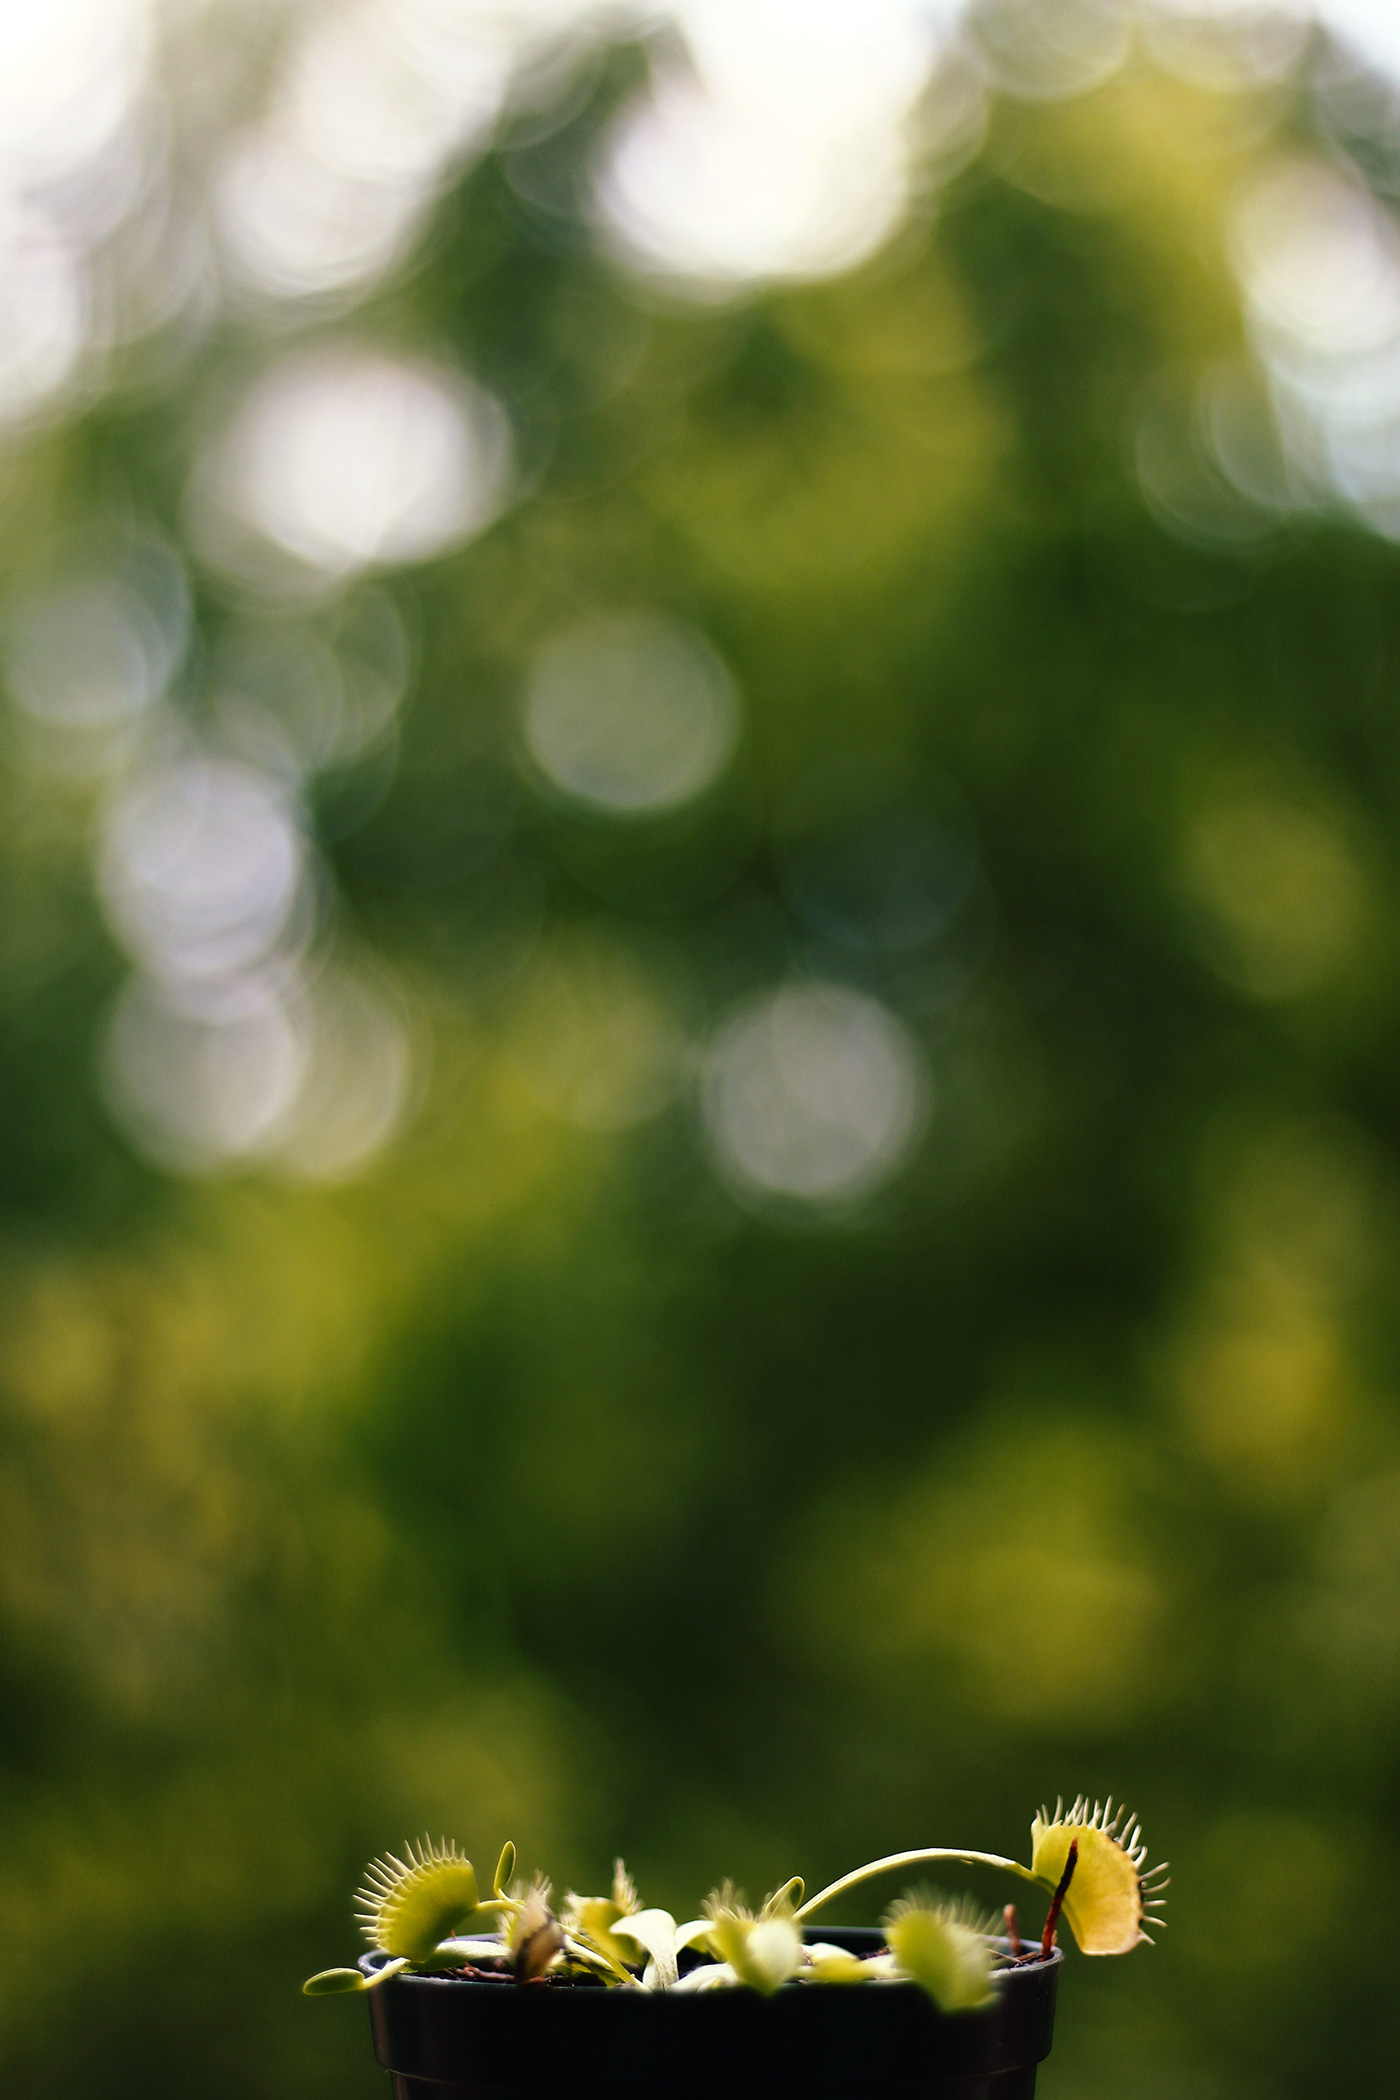
Other solutions might include using very far away objects or nature, as I use a f1.8 lens, I get very blurred backgrounds if they are far enough. Here’s one I did of a carnivorous plant, using some trees as a background, people loved the results and it was so easy to achieve. (Playing with colors is essential to call attention, this time I did not take contrast into considerations but almost blended the object, once the theme was nature. What makes it isolated is the focus).
Effects
To make my images stand out even more I create a few effects. I particularly like the mirror one I did using my cellphone. I simply positioned it under my lens and moved it around until I found the perfect position. With this same effect I also captured this white light stream, just point the cellphone/mirror to the light.
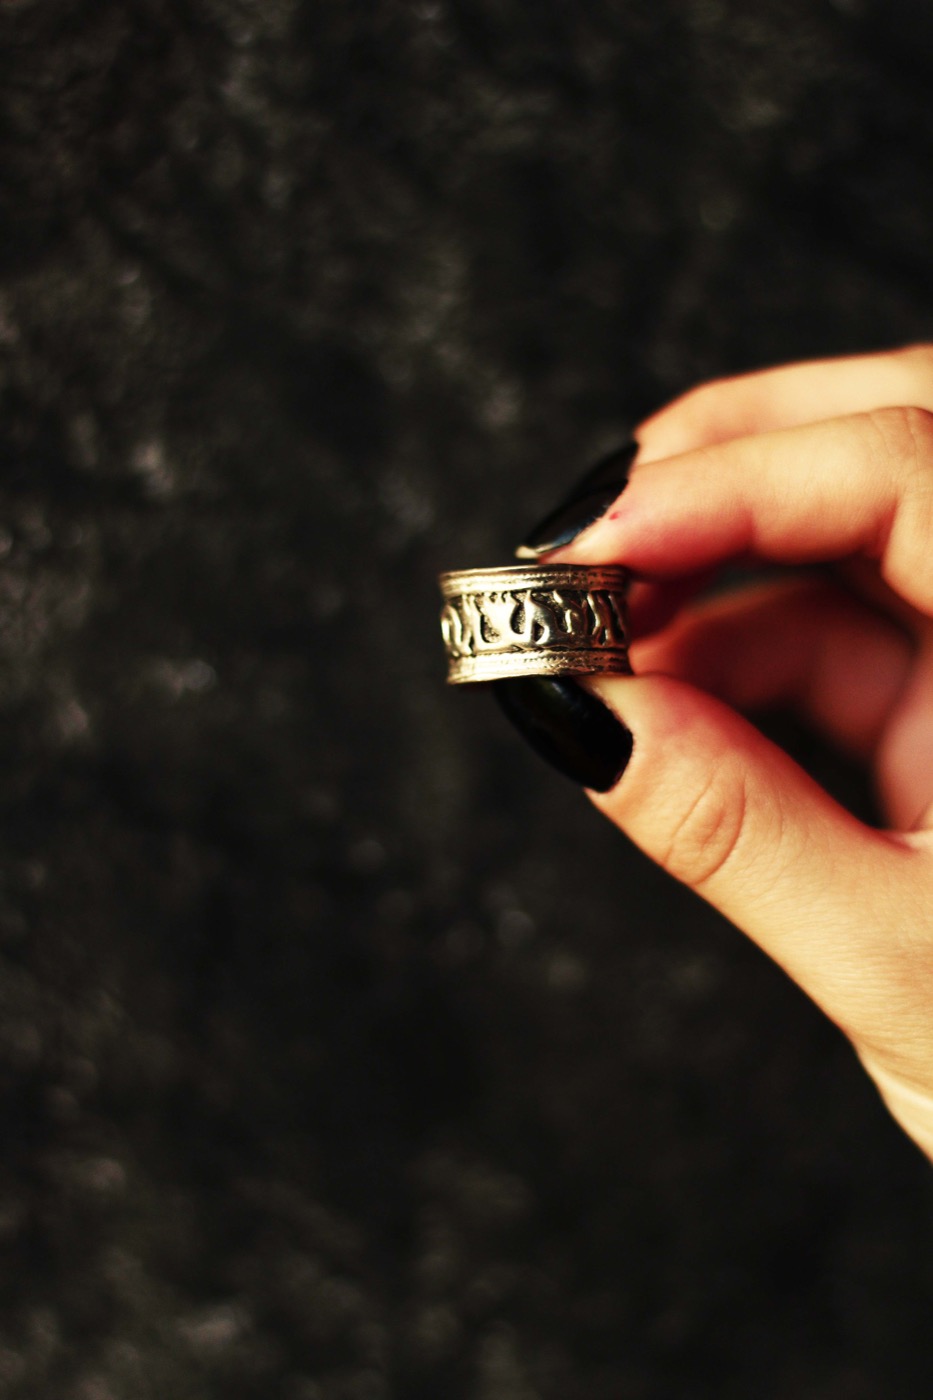
There are so many props that allows to play around and you can find them in your own house. The mirror one is my favorite, but do you have a crystal? A colorful rock? A present paper wrap? Or even a plastic bag? Everything that you position close to your lens may turn into rays of light, just take your time trying positions and proximities, you may get wonderful results.

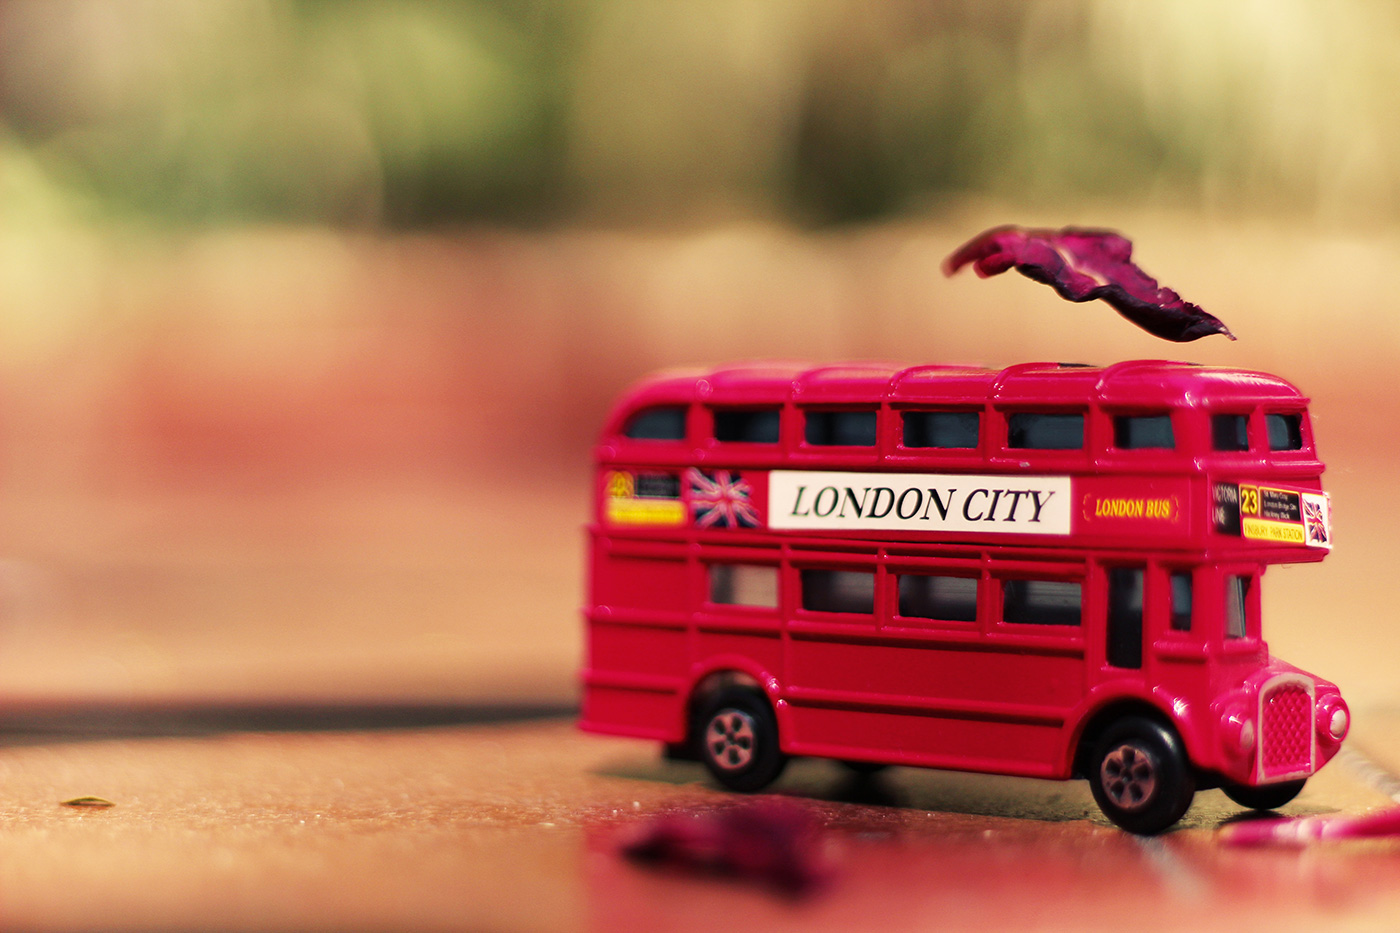
Photos one and two I got by changing the position of the mirror I placed under my lens, pointing it to the object or the light, I also used a blue led light bulb to change my white background a bit). Photo 3 I got by throwing some dry leaves and manning it look like fall
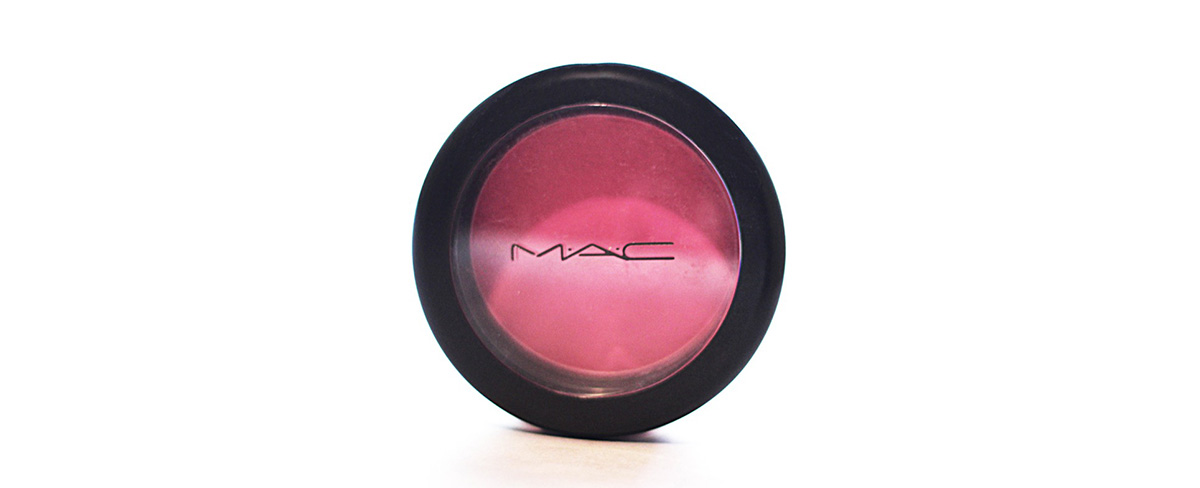
These are all easy product photography tips and they make you accomplish lovely results. Product photography can be very straight up photos, simple and white, but you can use your imagination to level up your game and the seller’s game. I usually offer them both options, I photograph white background and then invent a little so they have options not only for their websites but for their social medias as well. Creating is fun and we don’t need much, look around you and you’ll find something to add to your shoot. Let me know if you use some of these tricks and show me your results!


